 how-to
7 Steps to Prepare Your Electrical Panel for a Generator
Quick Summary
Preparing your electrical panel for a generator starts with checking its age, condition, and service rating, then confirming open breaker space and planning a transfer switch or interlock. Count your essential loads, bring the panel details to a licensed electrician, and schedule the assessment before the generator arrives.
- Check the panel's service rating in amps and look for signs of age, scorching, or frequent breaker trips.
- Count open breaker spaces, since generator connections require room for the generator breaker and transfer device.
- Size the generator to your real essential load, not the sum of every breaker in the panel.
- A transfer switch or interlock prevents backfeeding power into the utility grid, which is dangerous to line workers.
- Let a licensed electrician handle the panel cover, wiring, and inlet installation, and confirm equipment is listed for your panel.
Table of Contents
- Why Your Electrical Panel Decides Whether a Generator Installation Goes Smoothly
- Step 1: Inspect Your Panel's Age, Condition and Service Rating
- Step 2: Confirm Breaker Spaces and Panel Compatibility
- Step 3: Calculate Your Household Load and Prioritize Circuits
- Step 4: Plan the Transfer Switch or Interlock Setup
- Step 5: Choose a Location for the Generator Inlet Box
- Step 6: Understand Permits, Inspections and Homeowner Boundaries
- Booking Your Panel Assessment Before the Generator Arrives
- Frequently Asked Questions
7 Steps to Prepare Your Electrical Panel for a Generator
Last Updated: November 8, 2026
Why Your Electrical Panel Decides Whether a Generator Installation Goes Smoothly
Your electrical panel is the hub that decides whether a generator installation goes smoothly or stalls halfway through. Before any cable is pulled, an electrician needs to know how your panel is built, how old it is, and how much room it has. A little preparation can save considerable time and money. Many delays come from a panel that was never checked first.
A generator does not connect to your house by magic. It ties into the same National Electrical Code guidance on standby and optional power systems that governs every other service in your home, so the panel has to be ready for it. When the panel is undersized, full, or out of date, the install gets expensive fast.
The seven steps below walk through what to check and why it matters. Work through them in order and you'll be ready to discuss your panel with your electrician.
Step 1: Inspect Your Panel's Age, Condition and Service Rating
Start by looking at the panel itself. Find the service rating printed on the label, usually in amps, such as 100A or 200A. This number tells you how much power your home can draw at one time.
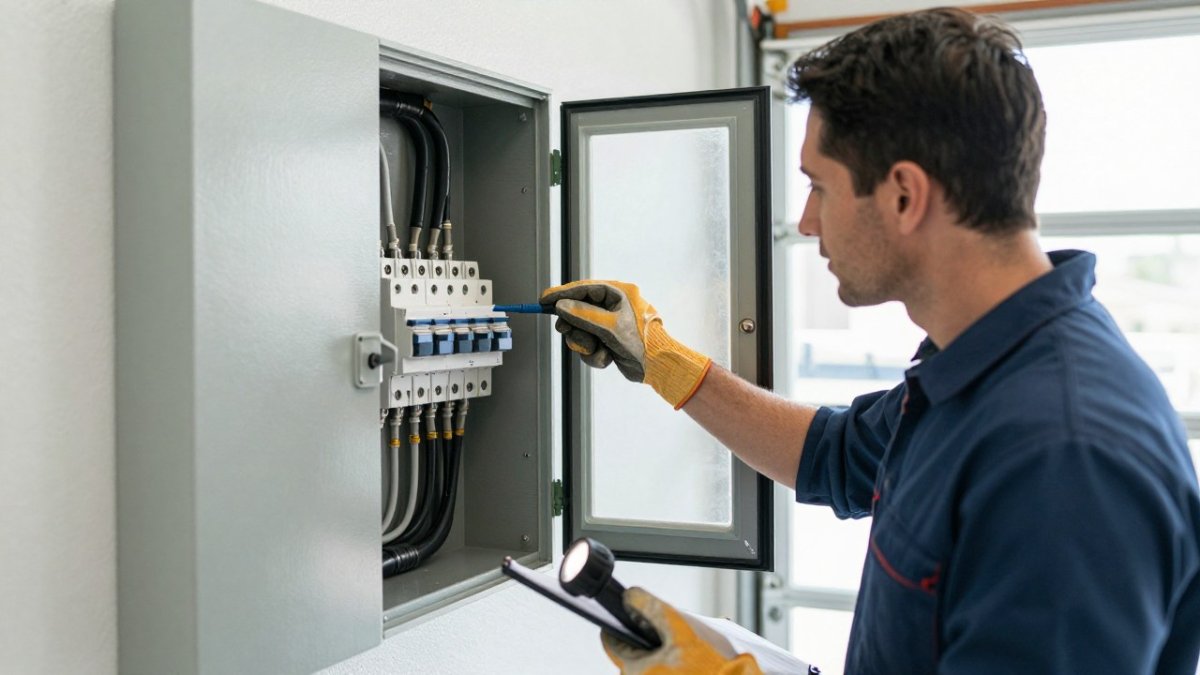
Check for these warning signs:
- Panels older than 25 to 30 years, especially brands known for recall issues
- Scorch marks, rust, or a burning smell
- Breakers that trip often or feel warm to the touch
- Loose or missing panel covers
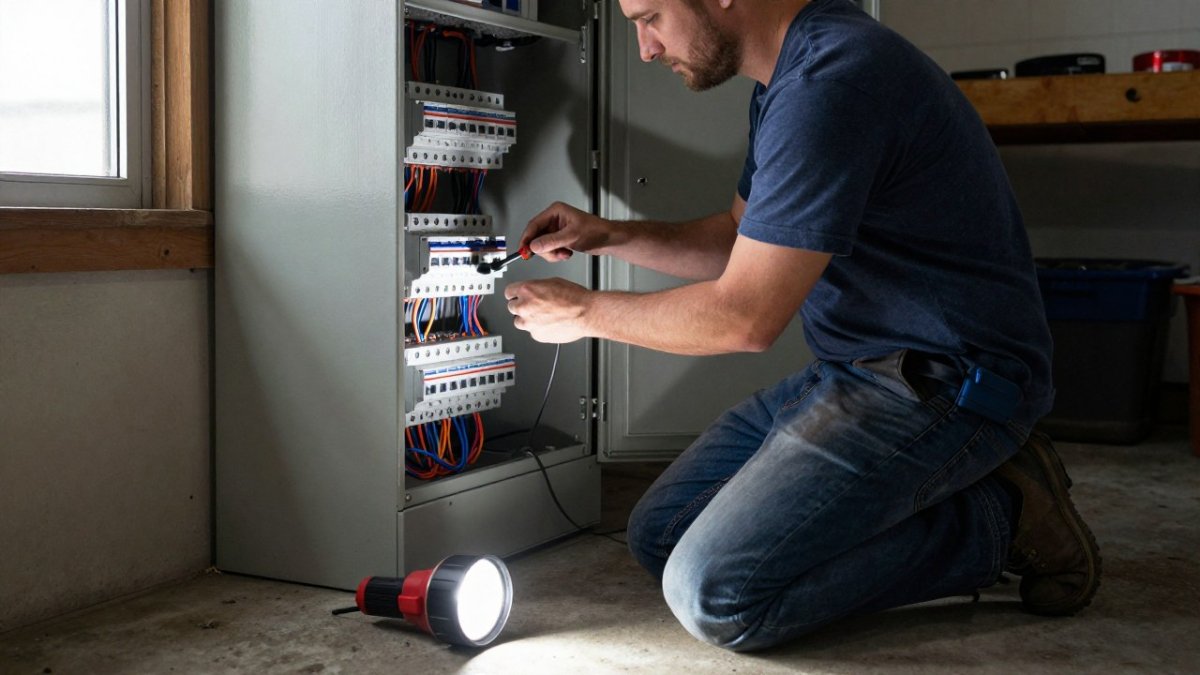
Watch out: never open the panel door or touch the bus bars yourself. Look from outside, then hand the inspection to a licensed electrician.
Step 2: Confirm Breaker Spaces and Panel Compatibility
A generator connection usually needs open breaker space, plus a way to keep utility power and generator power from meeting. Count the open slots in your panel. Generator connections typically require open breaker space for the generator breaker and transfer device, and the exact count depends on the design.
Panel brand matters too. Some manufacturers make interlock kits and transfer hardware that fit only their own panels. Writing down the panel's make, model, and bus rating will speed up the electrician's parts list.
Step 3: Calculate Your Household Load and Prioritize Circuits
Load planning is where most generator projects quietly go wrong. The goal is not to power everything, it is to identify the circuits you actually need during an outage, confirm your generator can start and run them, and then let that number drive the inlet, breaker, and transfer equipment you buy.
Start with a circuit-by-circuit inventory. Open the panel door only far enough to read the directory label, and photograph it. For each circuit you want backed up, write down the room or appliance it serves and the breaker size in amps.
A practical method most electricians use is to separate loads into three tiers:
- Continuous essentials: refrigerator, freezer, furnace blower, well pump, sump pump, internet router, and a few LED lighting circuits. These run for hours and set your baseline.
- Intermittent essentials: microwave, coffee maker, garage door, and a space heater used briefly. These add short bursts but rarely all at once.
- Starting-load offenders: central AC compressors, heat pumps, and large well pumps. A motor can draw several times its running wattage for a second or two at startup, and that surge, not the running total, often decides whether a generator will hold.
Add the continuous essentials first. Then add the largest intermittent load you expect to run at the same time. For a deeper walkthrough of this process, see how to calculate your household power needs.
Use the panel directory to translate this into breaker positions. Group essential circuits so they can be fed by a transfer switch or interlock that isolates them from the utility. Circuits you leave off the backup list stay in the main panel and are simply switched off during an outage.
Watch out: do not size the generator to the sum of every breaker in the panel. Instead, choose the circuits the generator must support and use standby generator load planning to keep the total within its capacity.
Bring this inventory, circuit list, nameplate photos, and your tiered total, to the electrician. It shortens the site visit, prevents an oversized or undersized purchase, and gives the installer the information needed to select the inlet and transfer equipment before any parts are ordered.
Here is a quick summary of the three load tiers to sort your circuits before you talk to an electrician.
| Load tier | Examples | Why it matters |
|---|---|---|
| Continuous essentials | Refrigerator, freezer, furnace blower, well pump, sump pump, router, LED lighting | Run for hours and set your baseline |
| Intermittent essentials | Microwave, coffee maker, garage door, brief space heater | Add short bursts, rarely all at once |
| Starting-load offenders | Central AC compressor, heat pump, large well pump | Startup surge often decides whether the generator holds |
Step 4: Plan the Transfer Switch or Interlock Setup
A transfer switch or interlock kit keeps your generator from feeding power back into the utility grid. That backfeed is dangerous to line workers and can damage equipment. The Occupational Safety and Health Administration guidance on electrical hazards treats this as a serious risk, which is why this step is non-negotiable.
Manual transfer switches are often the lower-cost choice for homes that run only a few circuits. Automatic transfer switches cost more but switch over on their own when the grid drops. Your electrician will recommend the option that fits your panel and budget. Pricing depends on the equipment and the scope of work, so ask for a written quote.
Step 5: Choose a Location for the Generator Inlet Box
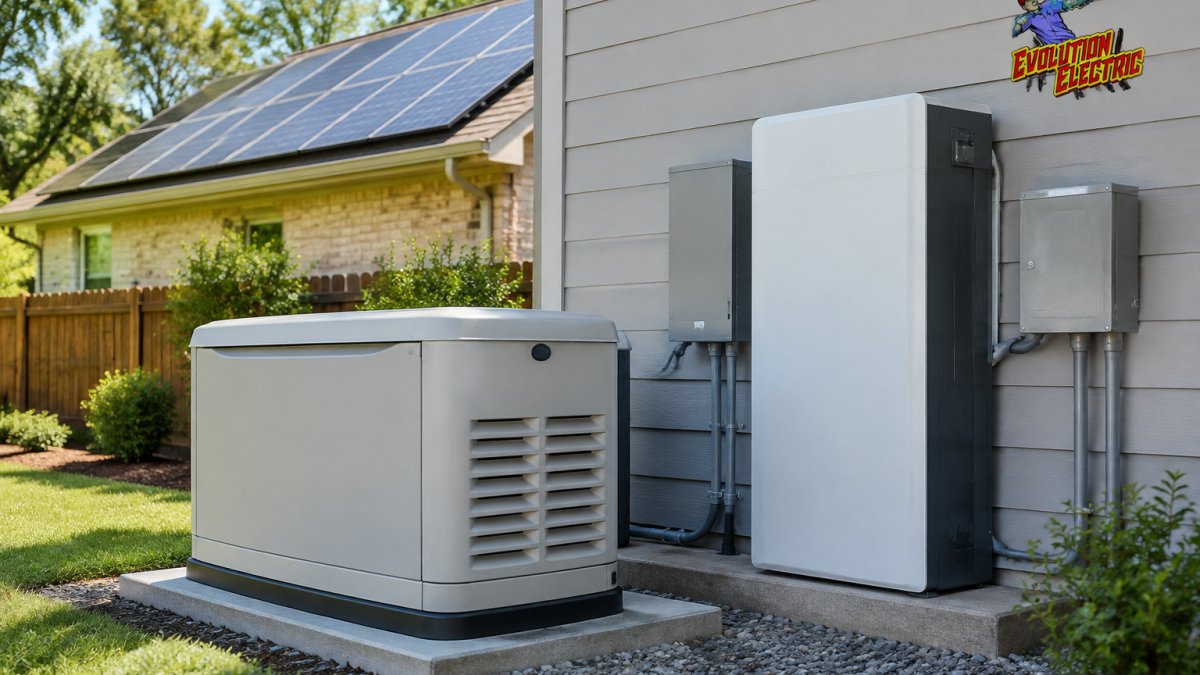
A generator inlet box is the outdoor connection point where a portable generator plugs in. Pick a spot that is level, dry, and well away from windows, doors, and vents. Exhaust fumes from a running generator can be deadly if they drift indoors (the CDC).
The inlet should also be close enough to the panel that the cable run stays short. Long runs need heavier wire, which adds cost. A clear path for the generator cord keeps the setup safe during a storm.
Step 6: Understand Permits, Inspections and Homeowner Boundaries
Permits and inspections are the part of generator preparation that most homeowners underestimate, and they are also where a little homework prevents the most expensive rework. For the detailed permit and code requirements, read generator installation permits and codes. The rules are set locally, by the building department or the authority having jurisdiction, so the exact requirements vary, but the workflow is consistent enough to plan around.
A generator connection typically requires an electrical permit because it adds a new power source, a transfer device, and often a new outdoor inlet and circuit. The permit application usually asks for the panel make and model, service rating, the generator's make, model, and rated output, the transfer equipment listing, and a simple one-line diagram showing how the generator ties into the panel.
Inspectors generally look for a few specific things on a generator job:
- Listed equipment: the transfer switch or interlock must be listed for the panel it is installed on, and the inlet box and cord set must be rated for the generator's output.
- Backfeed protection: the interlock or transfer switch must make it physically impossible for generator power and utility power to be connected at the same time.
- Grounding and neutral: the inspector will check that the generator is grounded and that the neutral is bonded in only one place, per the manufacturer's instructions and the adopted code.
- Labeling: the panel directory must identify the generator breaker and the circuits fed by the transfer equipment, and a warning label is often required at the service panel and at the inlet.
- Clearances and placement: the inlet must be outdoors, accessible, and away from doors, windows, and vents so exhaust cannot enter the home.
Homeowner boundaries matter here. You can gather documents, clear access to the panel, photograph the nameplate and directory, and confirm the permit requirements with the building department. You should not remove the panel cover, pull wire, install the inlet, or land conductors on the bus.
A practical preparation step is to build a folder, digital or paper, containing the panel photos, generator spec sheet, transfer equipment listing, and the permit number once issued. Hand it to the electrician at the start of the job. When the inspector arrives, the documentation is already in one place, and the final sign-off is far less likely to stall on a missing label or an unlisted interlock.
Watch out: an interlock kit that is not listed for your exact panel model can fail inspection even if it fits mechanically, so confirm the listing before the electrician orders parts.
Booking Your Panel Assessment Before the Generator Arrives
Once you have your panel age, service rating, open breaker count, and load list, you are ready for a professional look. Bring these notes to a licensed installer so the visit stays focused. Book a licensed panel assessment to get a quote for your home's backup power needs.
We recommend scheduling the assessment before the generator is delivered. That way, any panel upgrade is handled first and the install moves forward without waiting on parts. For a deeper look at the warning signs, read 5 signs your home electrical panel needs an upgrade, and use our electrical panel upgrade inspection checklist to check your panel's condition.
Generators of Nashville by Evolution Electric has served Middle Tennessee since 2014, with licensed electricians who install Generac generators, solar arrays, and home battery systems from EcoFlow, Anker SOLIX, and Jackery. Our team can check your panel and tell you what it needs before any equipment arrives. Take our 60-second quiz today to receive a free, personalized quote for your whole-home backup system.
Frequently Asked Questions
What size breaker do I need for a 10,000 watt generator?
A 10,000 watt generator running at its rated output on 240 volts draws roughly 42 amps, so the breaker size must be matched to the generator's manufacturer specification and the wire gauge used for the run. Because a generator's rated wattage is a ceiling and actual loads vary, Have a licensed electrician confirm the breaker rating against your panel and the generator's documentation before installation.
Can a generator backfeed through a home electrical panel?
Yes, if the generator is connected to the panel without an isolating device, power can flow back onto the utility lines. This is called backfeed, and it can injure utility workers and damage equipment. A transfer switch or manual interlock kit prevents this by ensuring the main breaker and the generator breaker cannot be on at the same time. Never connect a generator by backfeeding through a standard breaker.
How do I know if my electrical panel has room for a generator breaker?
Open the panel door and count the empty breaker spaces, then check the panel's main breaker rating and service rating printed on the label. A generator inlet or transfer switch typically needs one or two open spaces, depending on the design, along with enough capacity for the added load. If the panel is full, outdated or undersized for the planned load, a panel upgrade may be required. A licensed electrician should make this determination on site.
Does a generator installation require an electrical panel upgrade?
Not always. Many homes can accommodate a generator without an upgrade if the panel has open spaces, adequate service capacity and a compatible interlock or transfer switch. A panel upgrade becomes likely when the panel is at capacity, uses obsolete or unsupported breakers, or cannot carry the combined load of the home plus the generator. Permits and inspections typically apply to these changes, so confirm requirements with your local building department.